

Online surf coaching for beginners & intermediates
Online surf coaching for beginners & intermediates


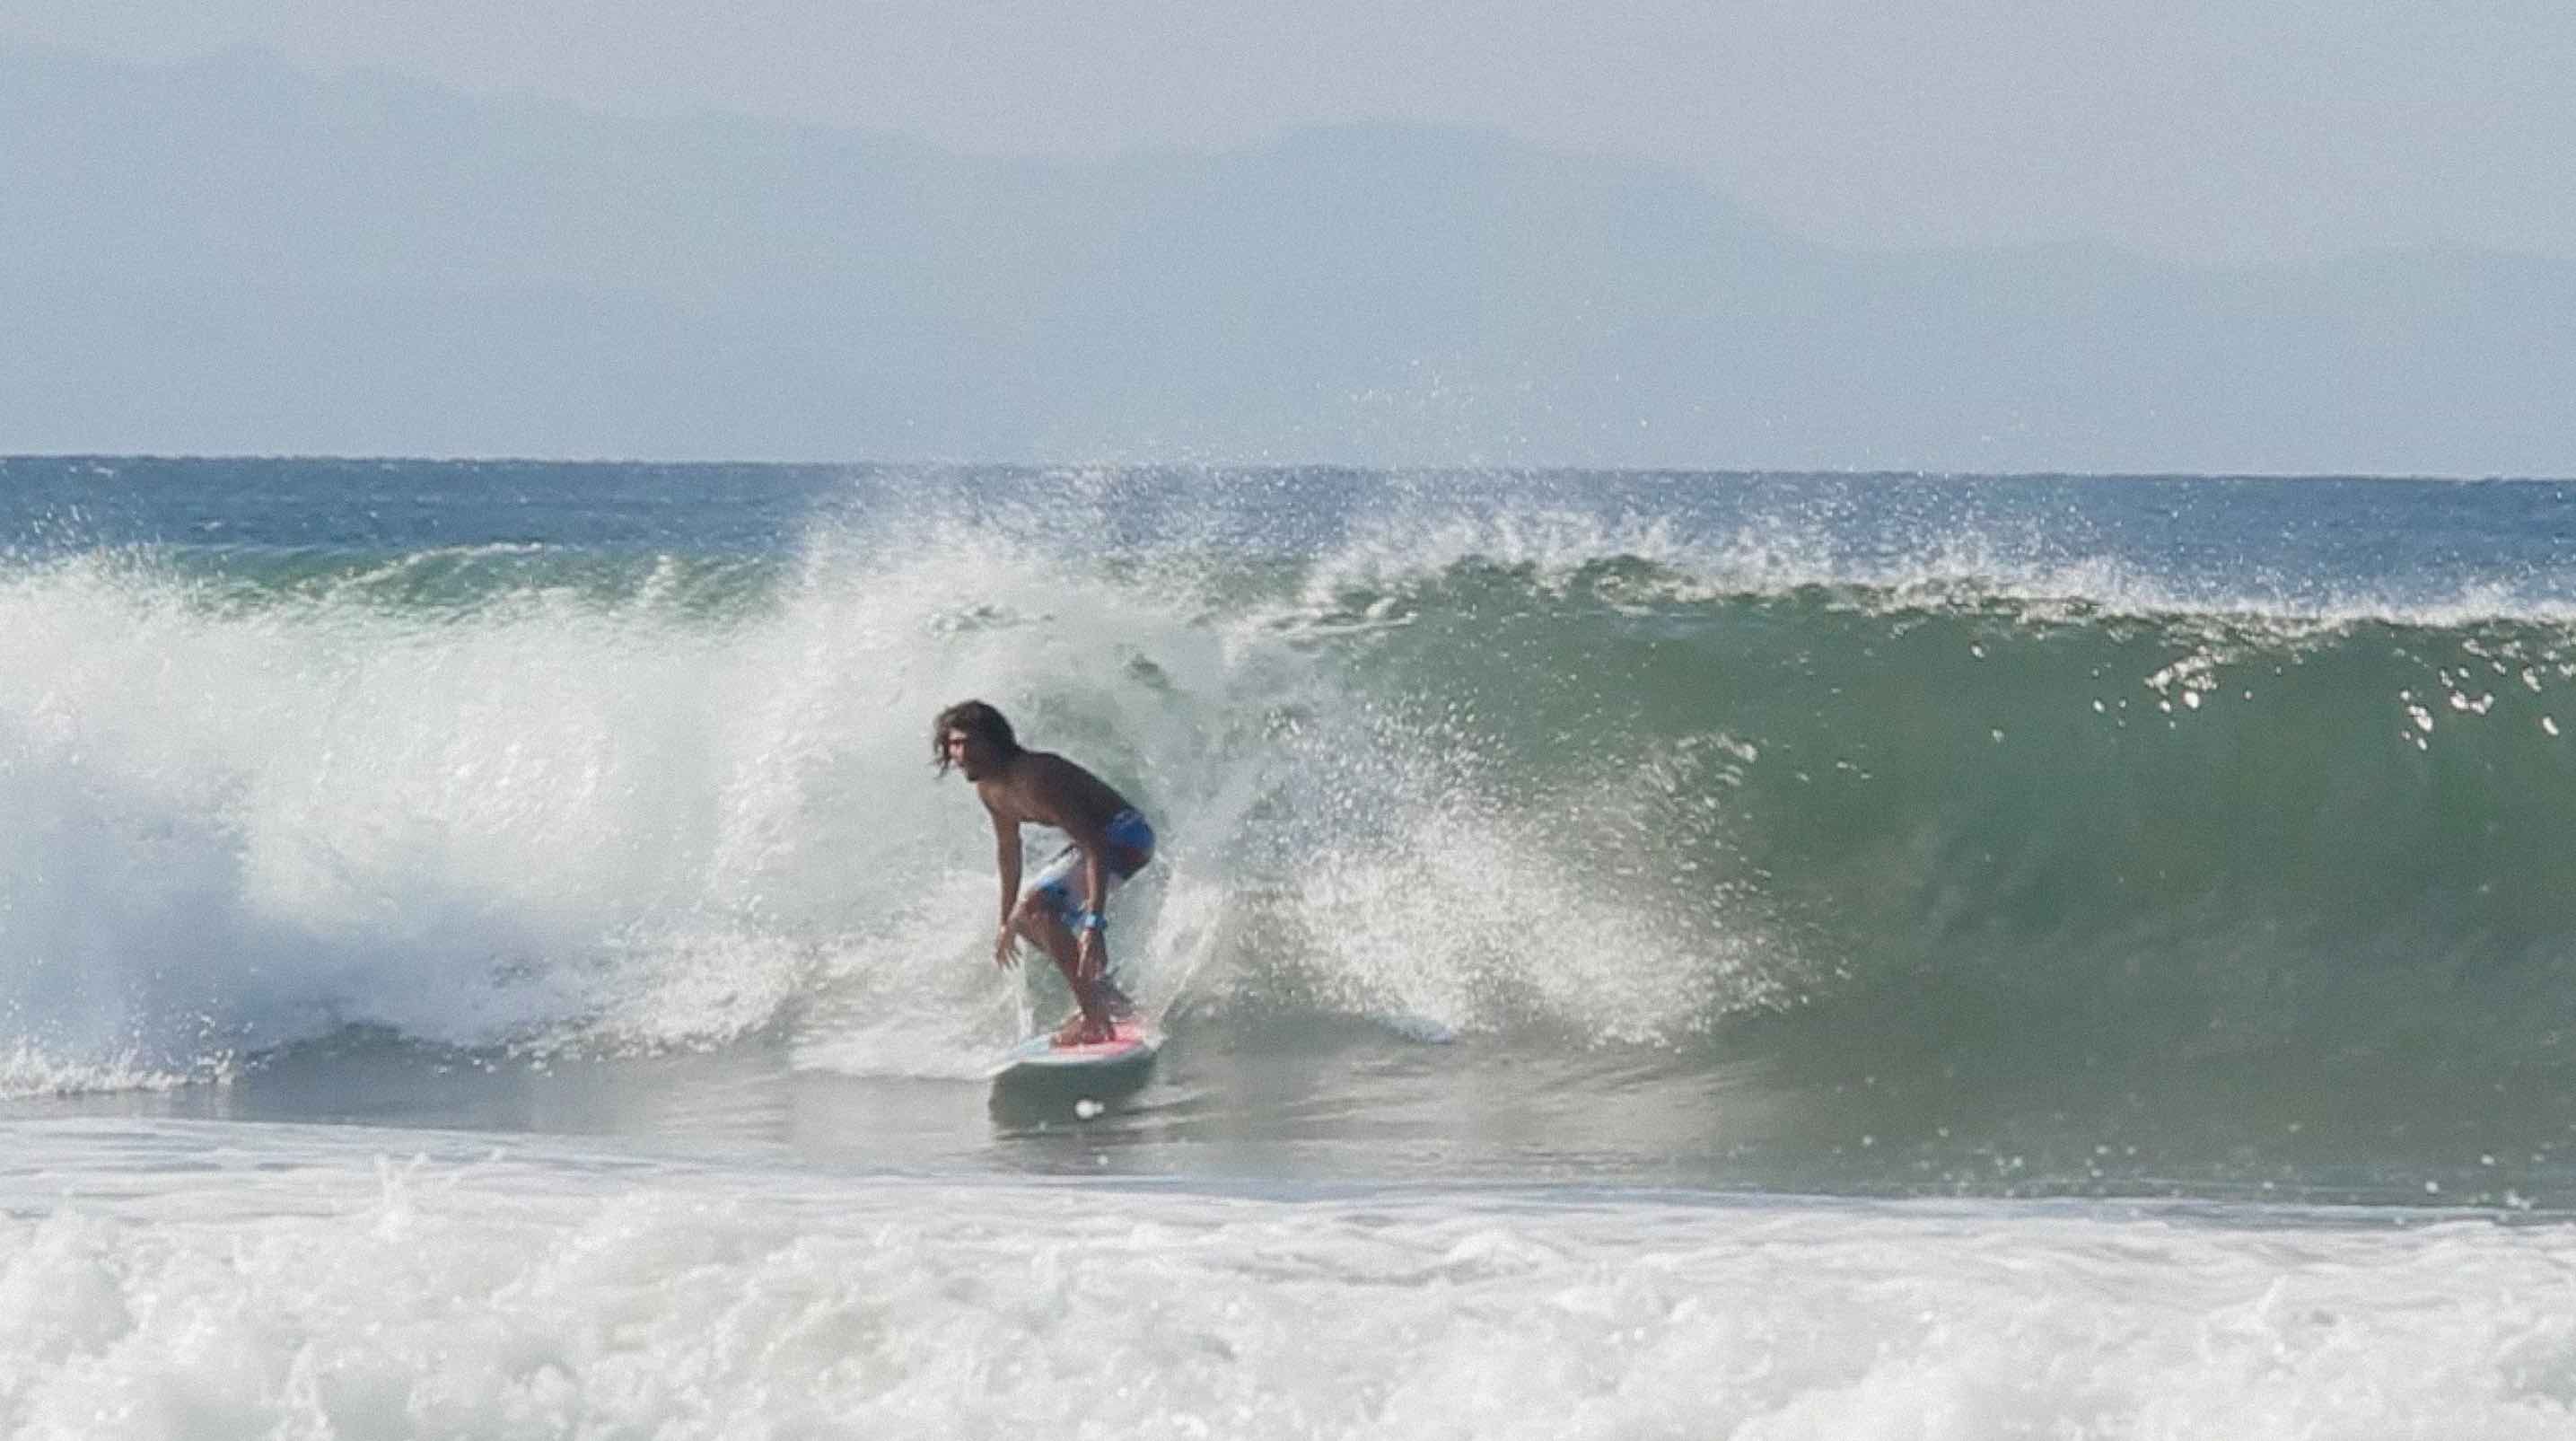
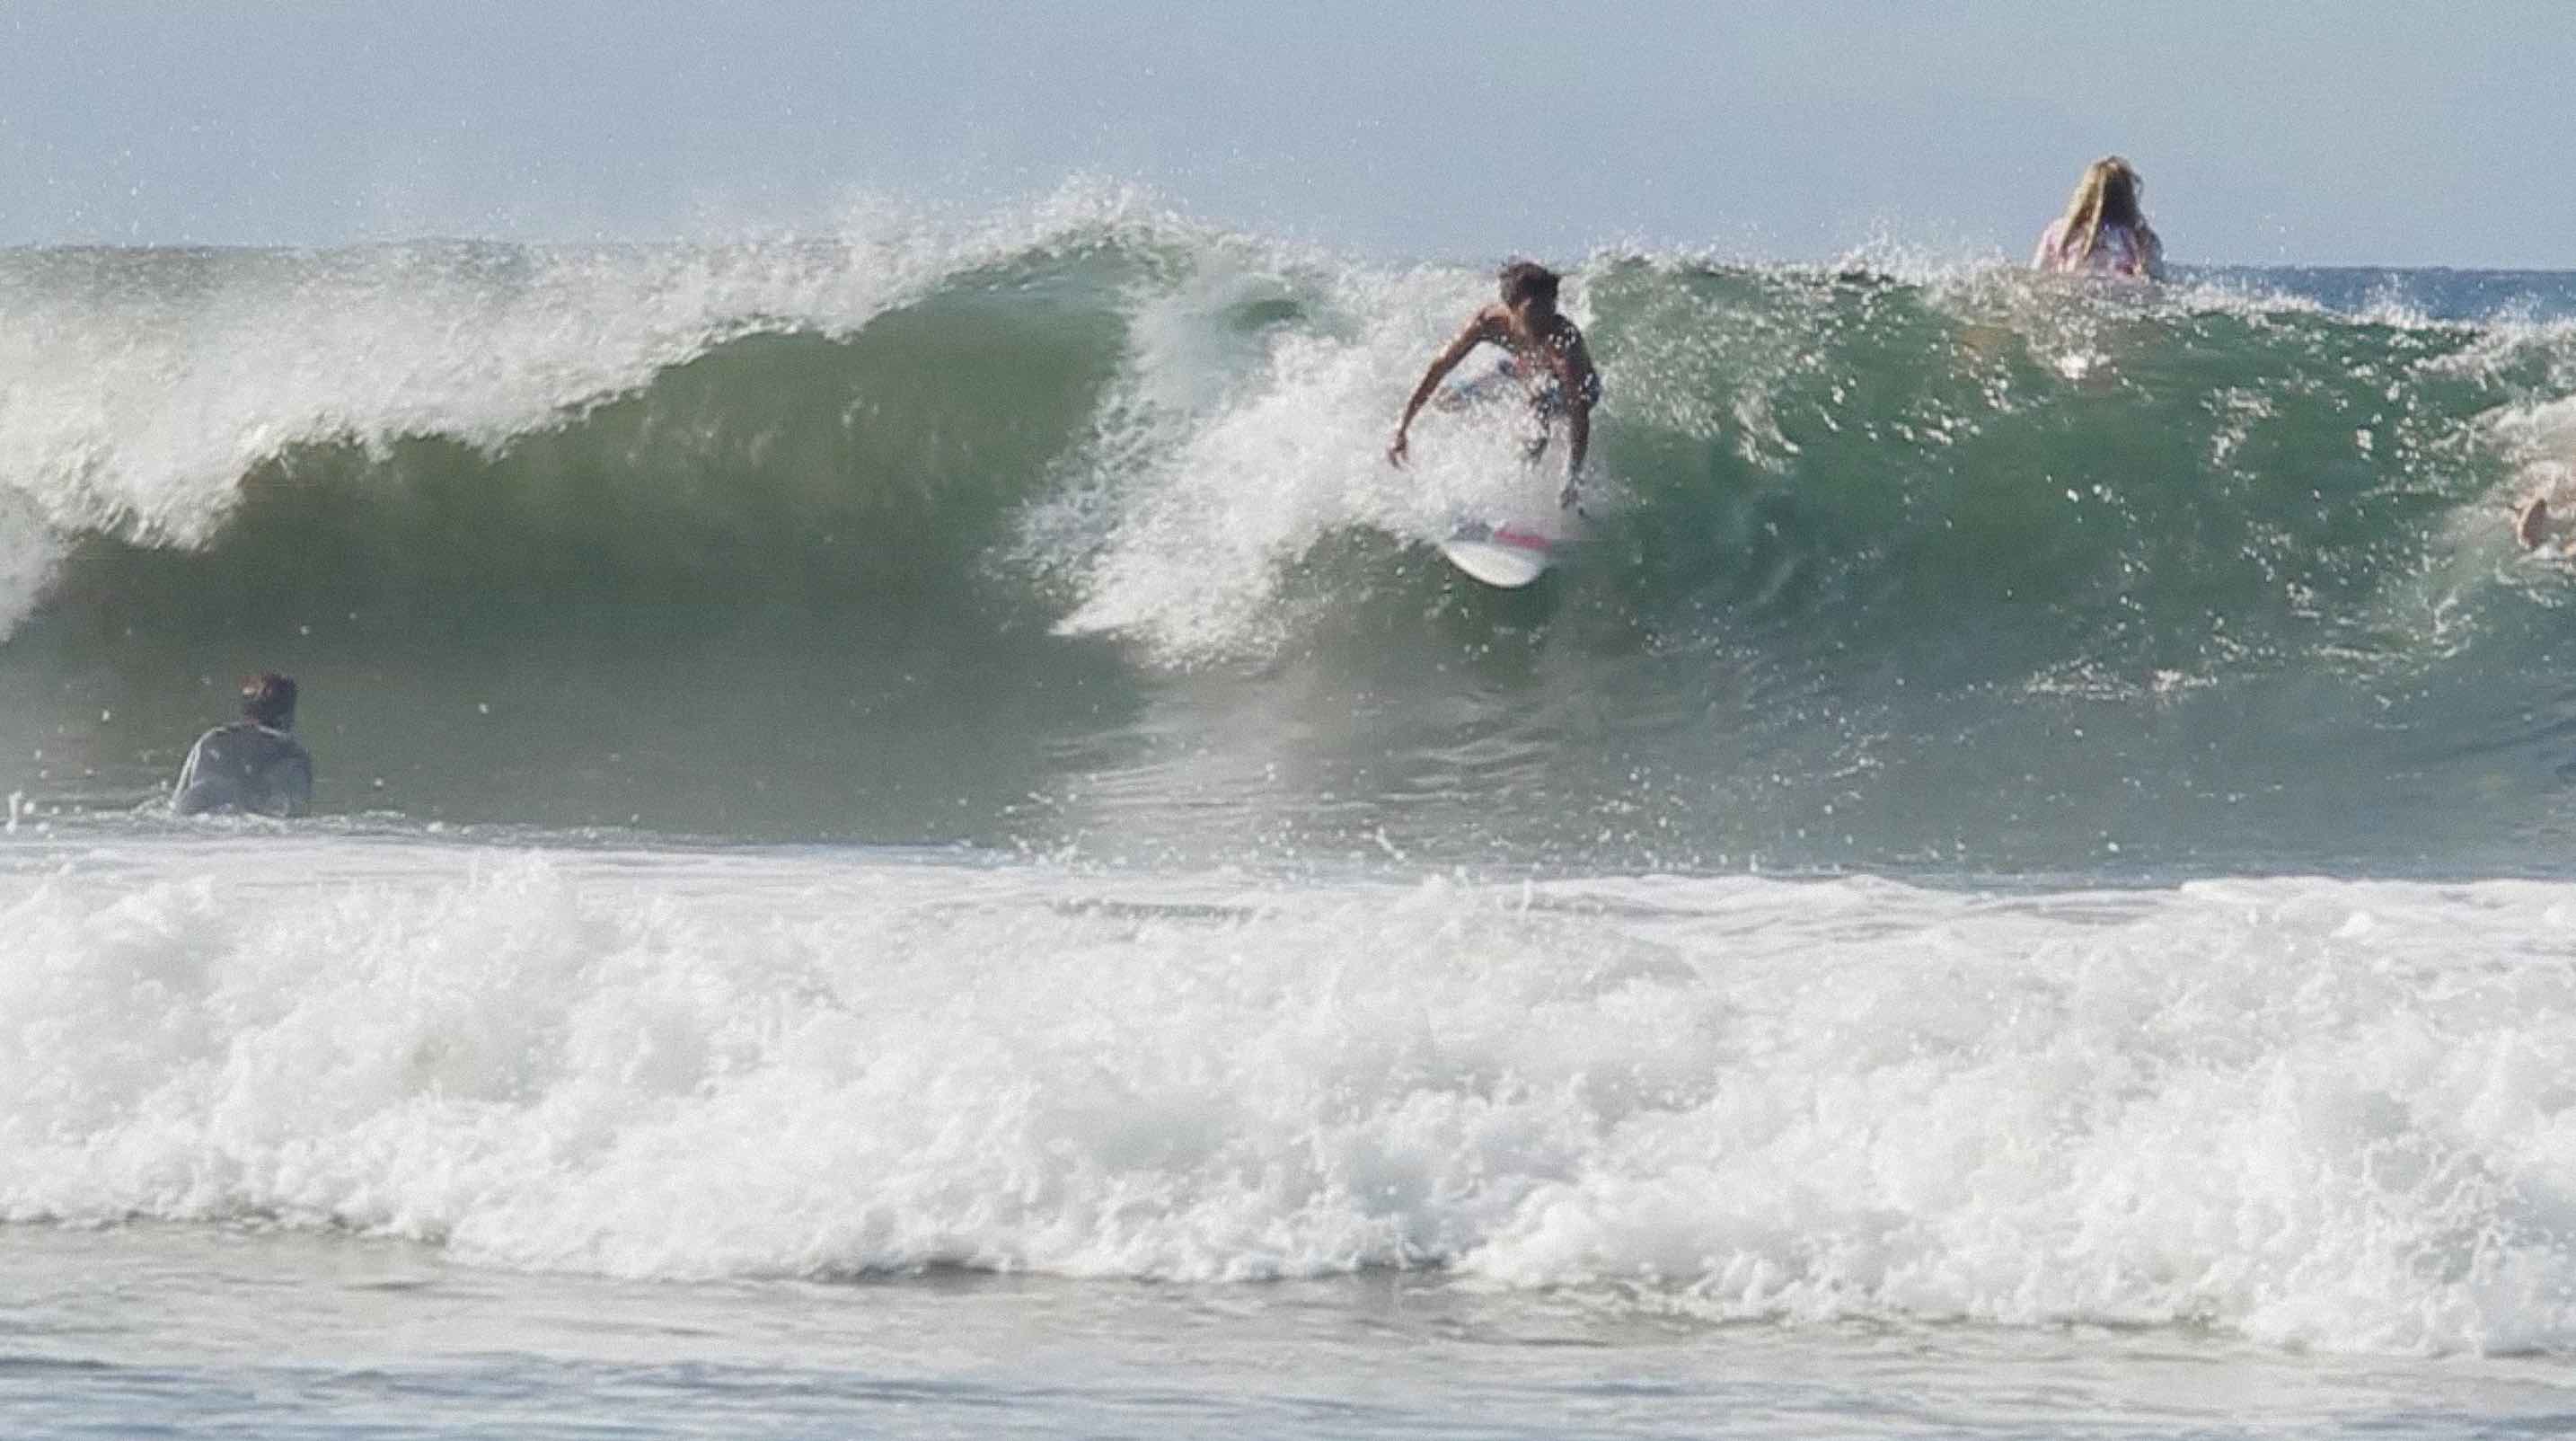
When a surfer rides over and along the top of the broken part of a wave. This maneuver is named a “floater” because surfers get a “weightless sensation” as they slide over either a pitching lip or white water.
“The Pocket Knife of Surfing”. Floaters are used to pass sections without losing speed, and sometimes actually gaining some. This translates into you making sections you previously couldn’t make, and surfing waves for longer rides, with more speed. It brings your surfing to the next level.

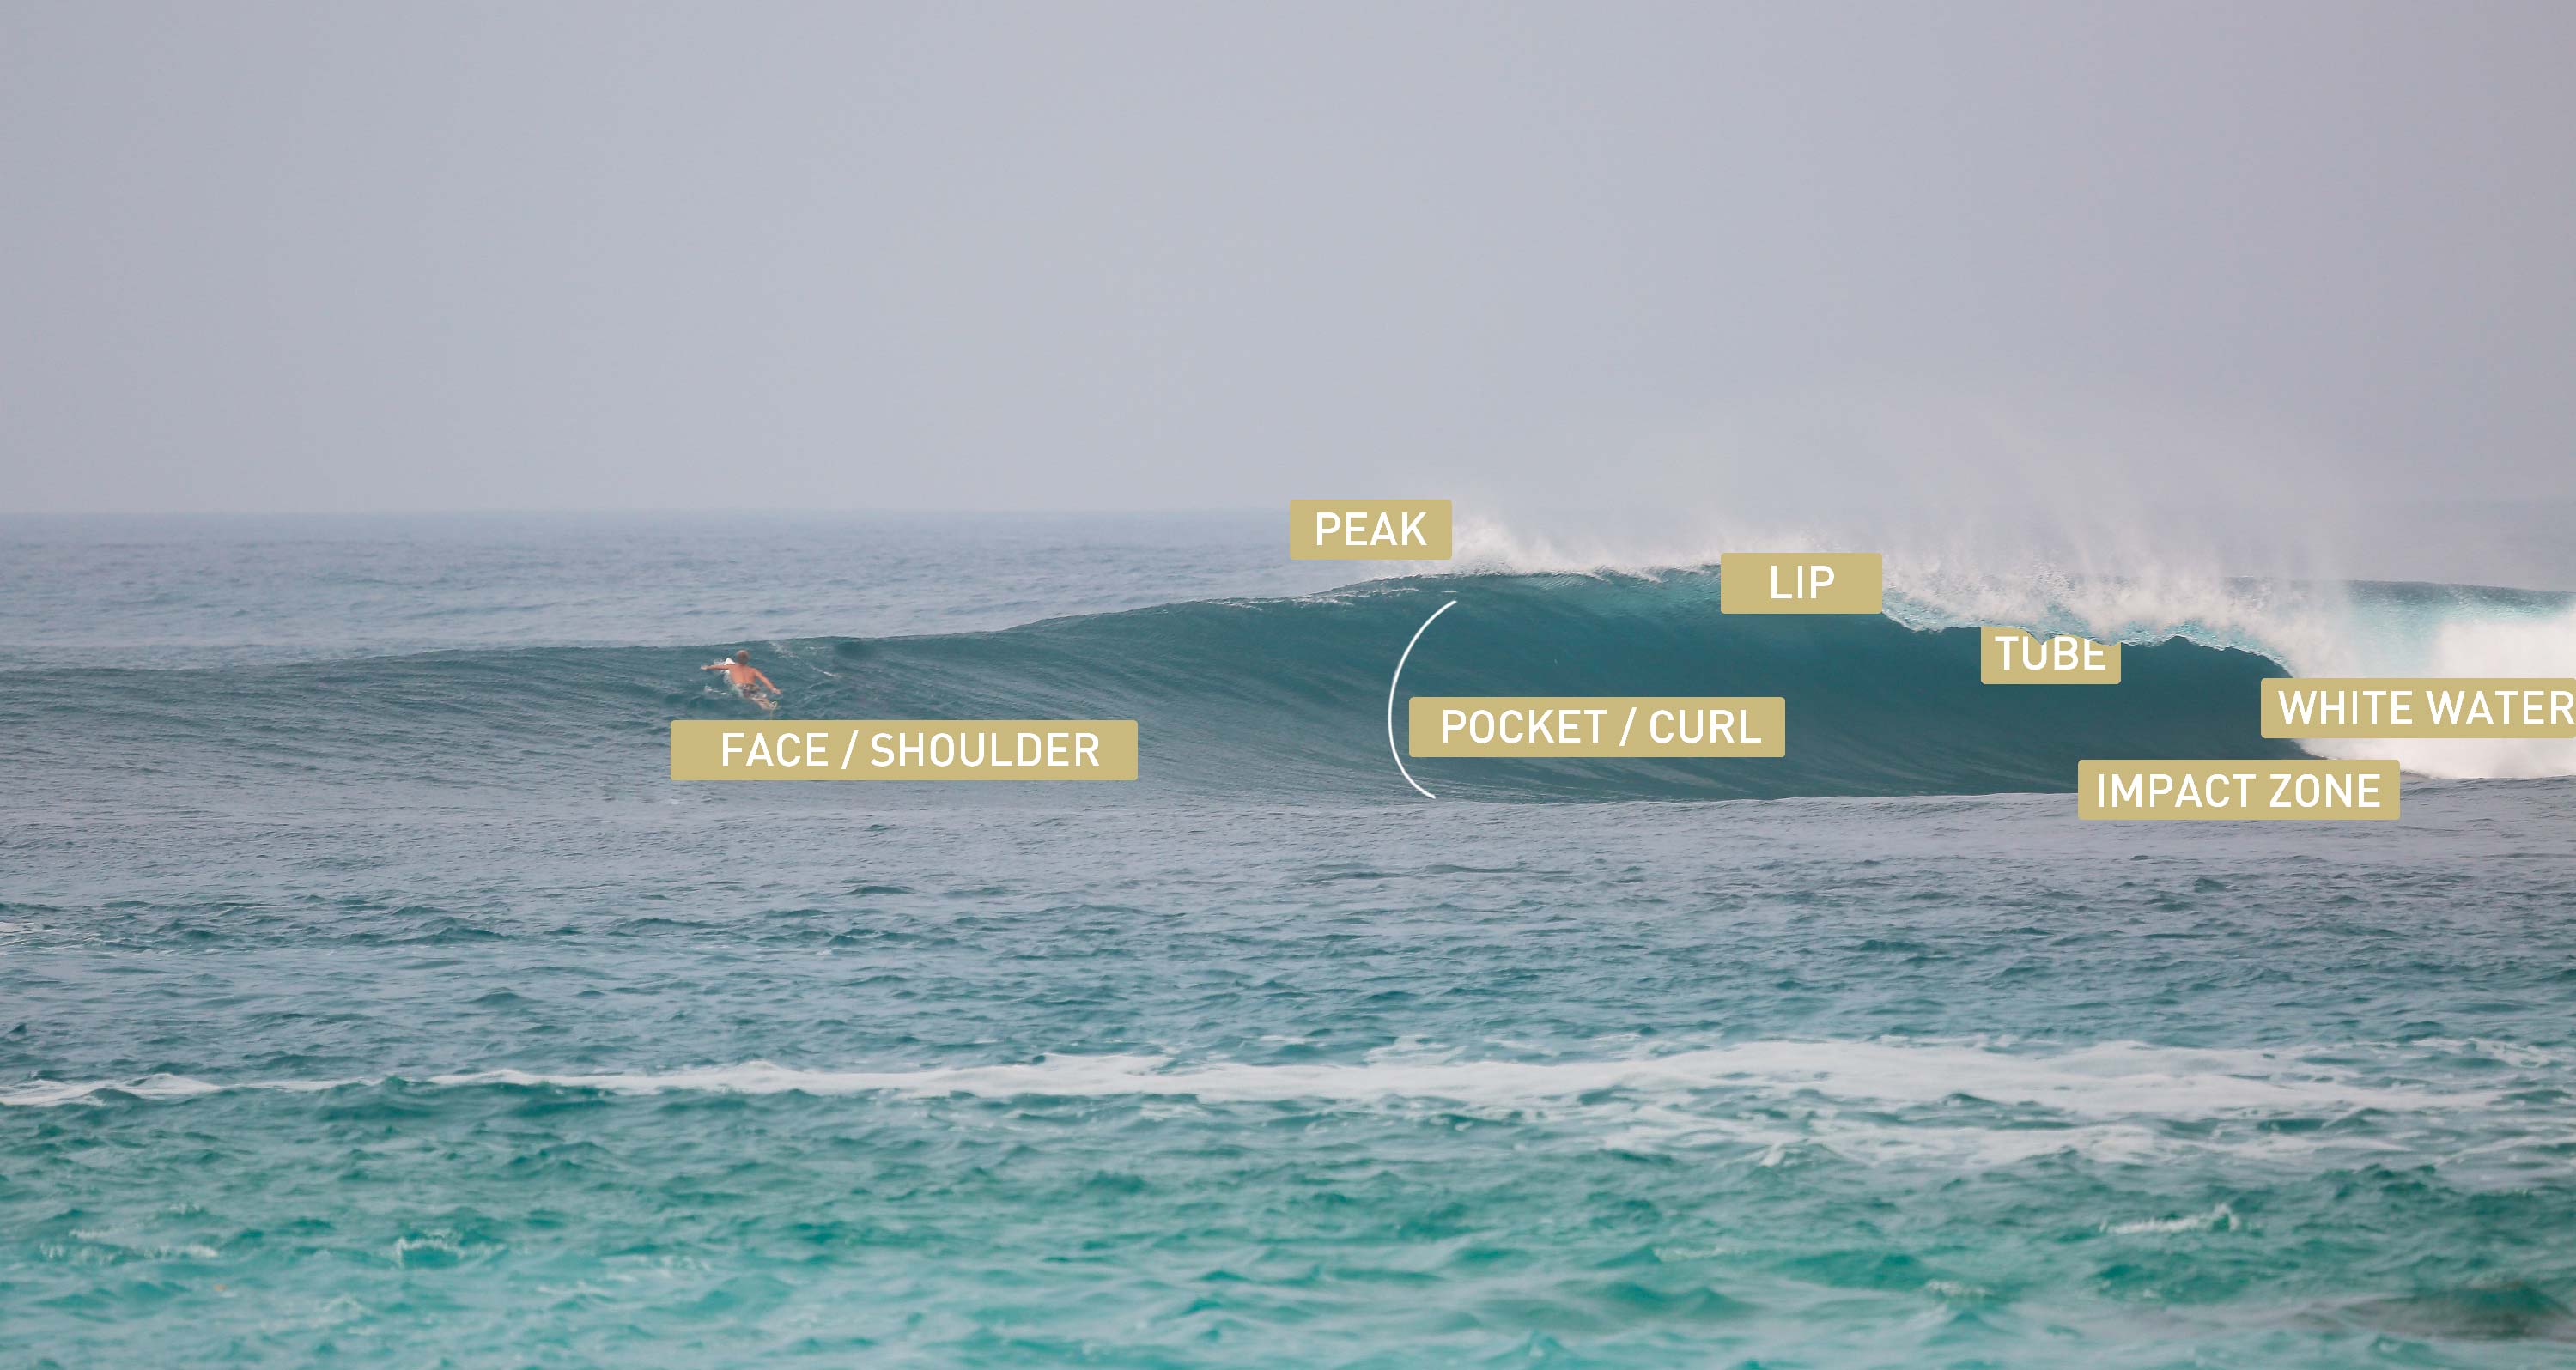
1. You can do a “floater” over the breaking part of the wave and come back down the other side of the section with as much, or more speed than you started the maneuver with. As you see on this illustration, the surfer was going at 20 km/h before the manoeuvre and as he finished his floater his speed was 22 km/h.
2. The other option is to go down the bottom and around the white water. When you go down in the flat part, you might lose lots of speed, as you are drawing your line in weak area of the wave.
3. The last possibility is to go straight down the wave and consider the wave is finished (what beginners do all the time).
This is an example of a Backside Floater.
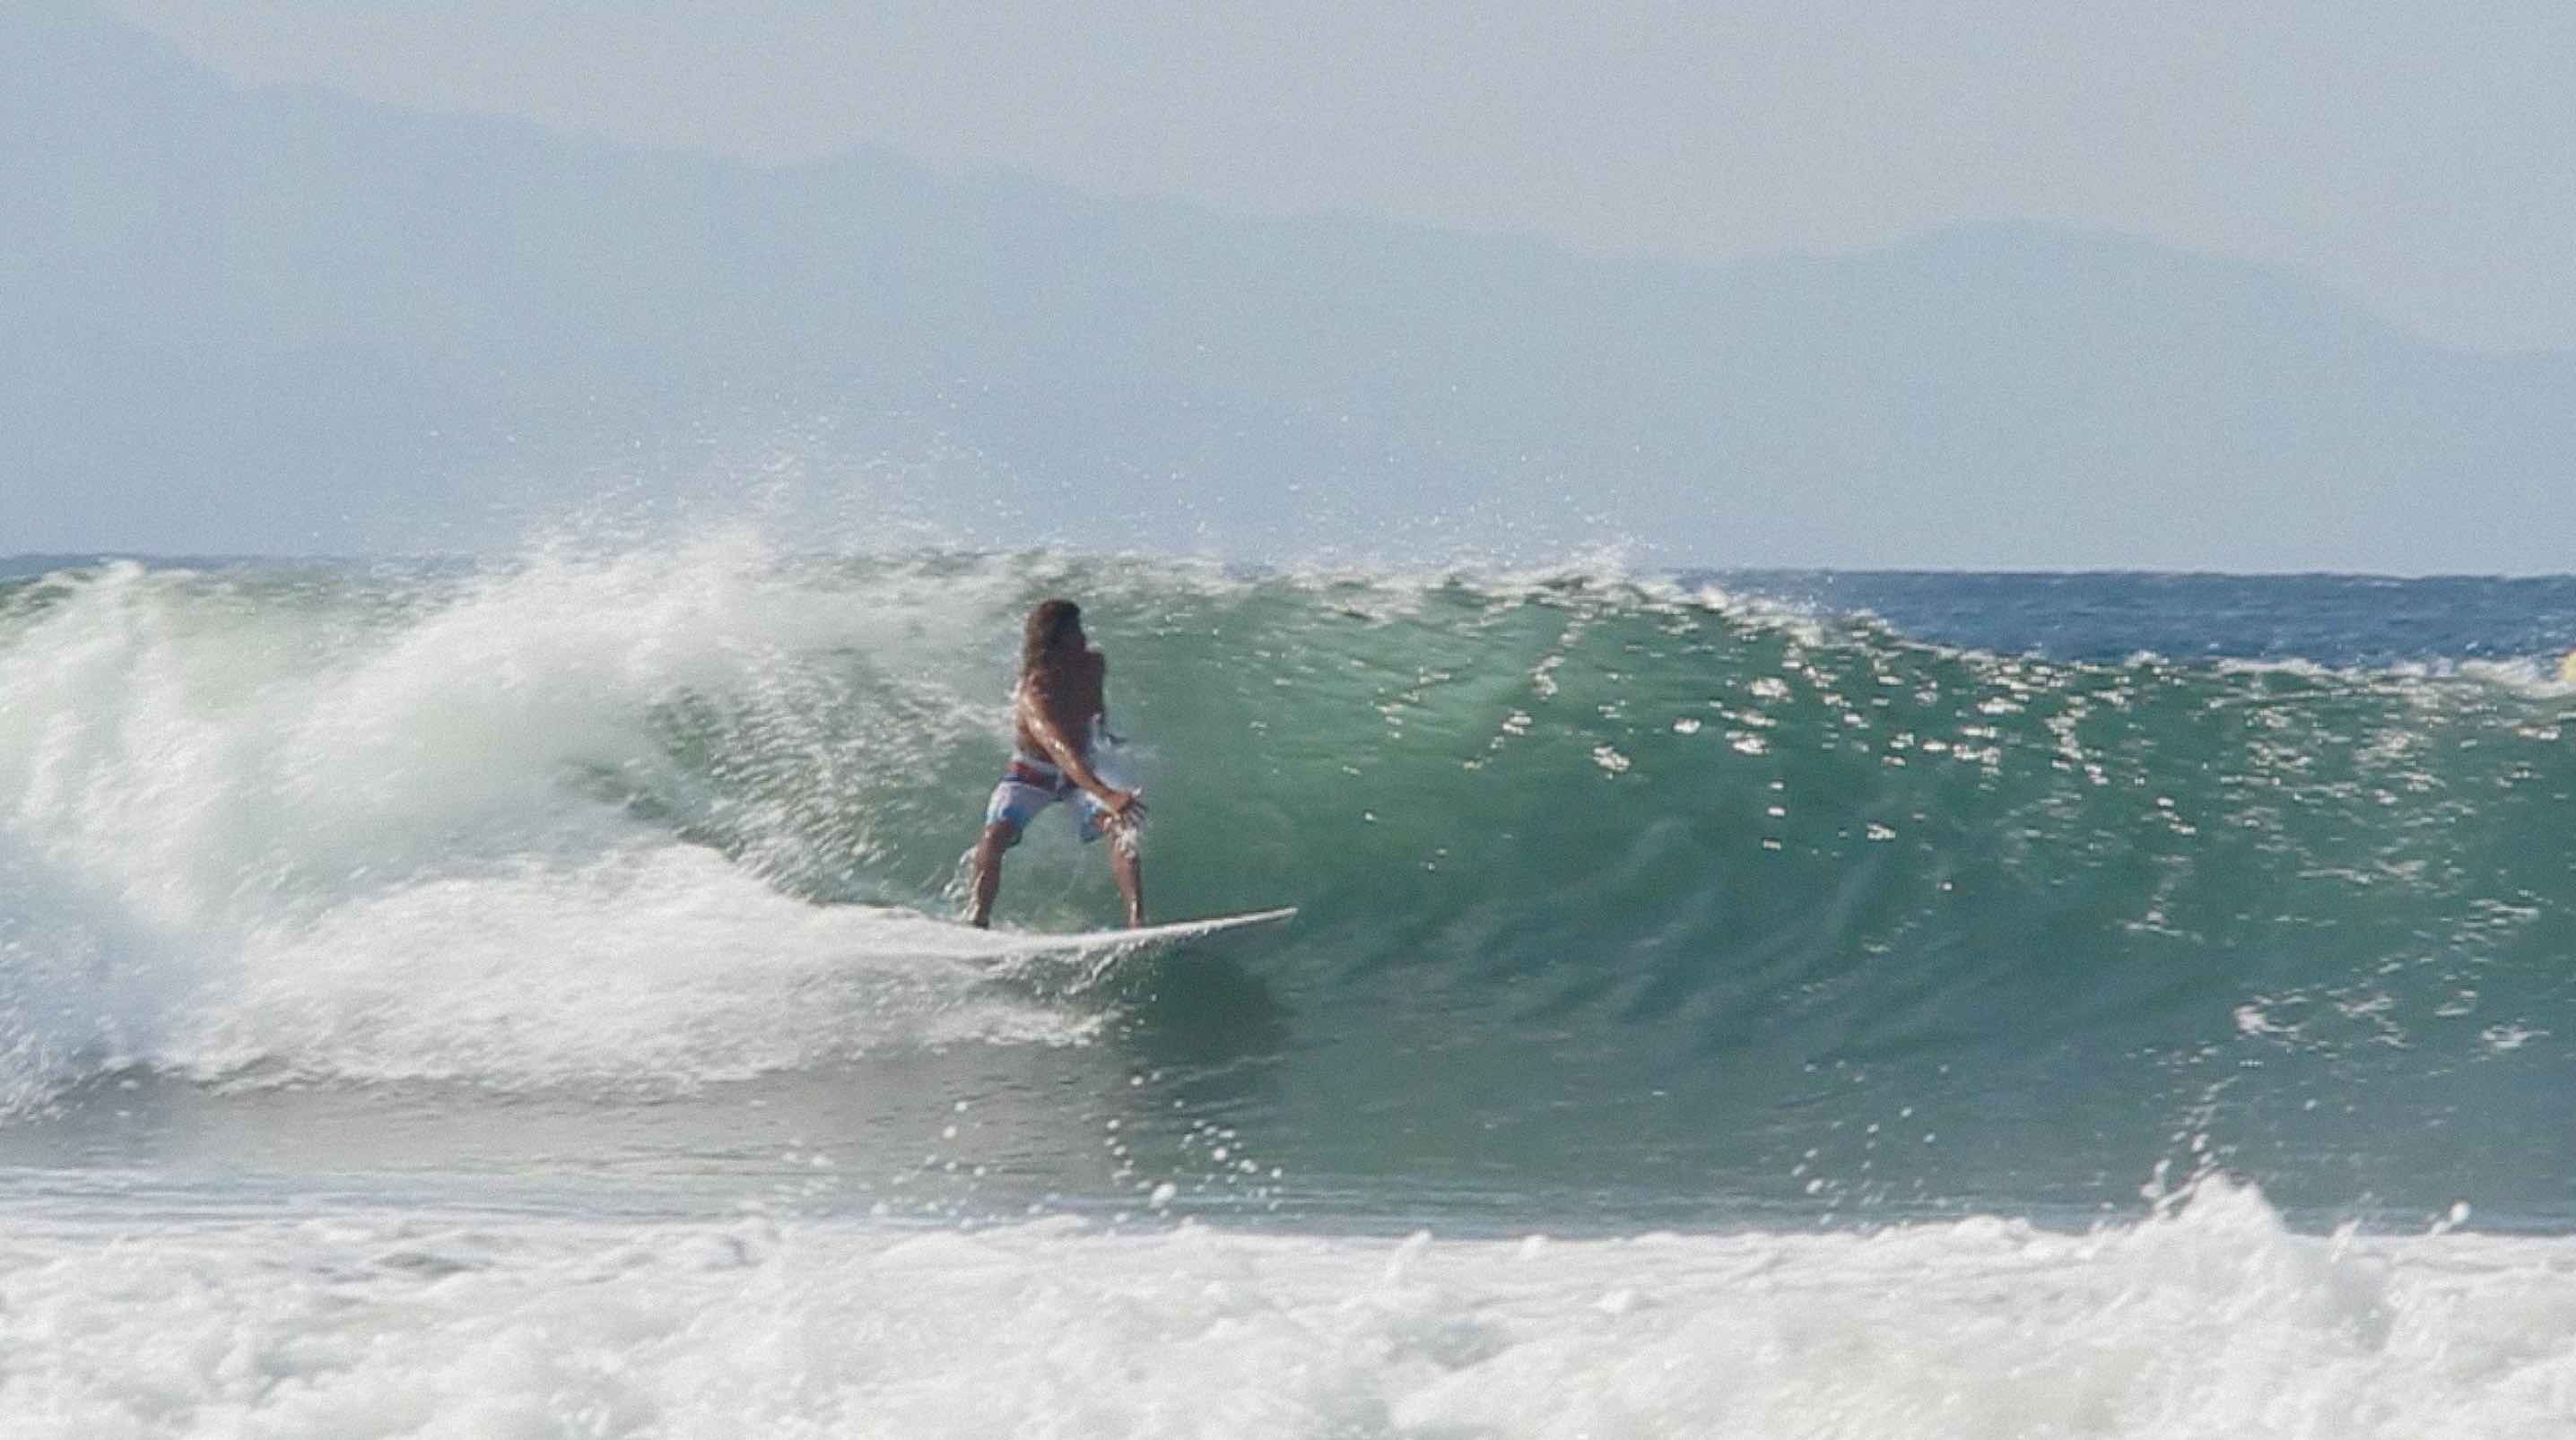
You want to reach the target with just a slight angle towards the breaking part of the wave.
Too much angle will throw you out the back of the wave. You rarely go below the mid height of the shoulder when preparing for a floater.
As you get close to the lip, shift your weight on the back foot. This ensures that your nose goes up and over the white water, instead of having the white water crashing over your surfboard.
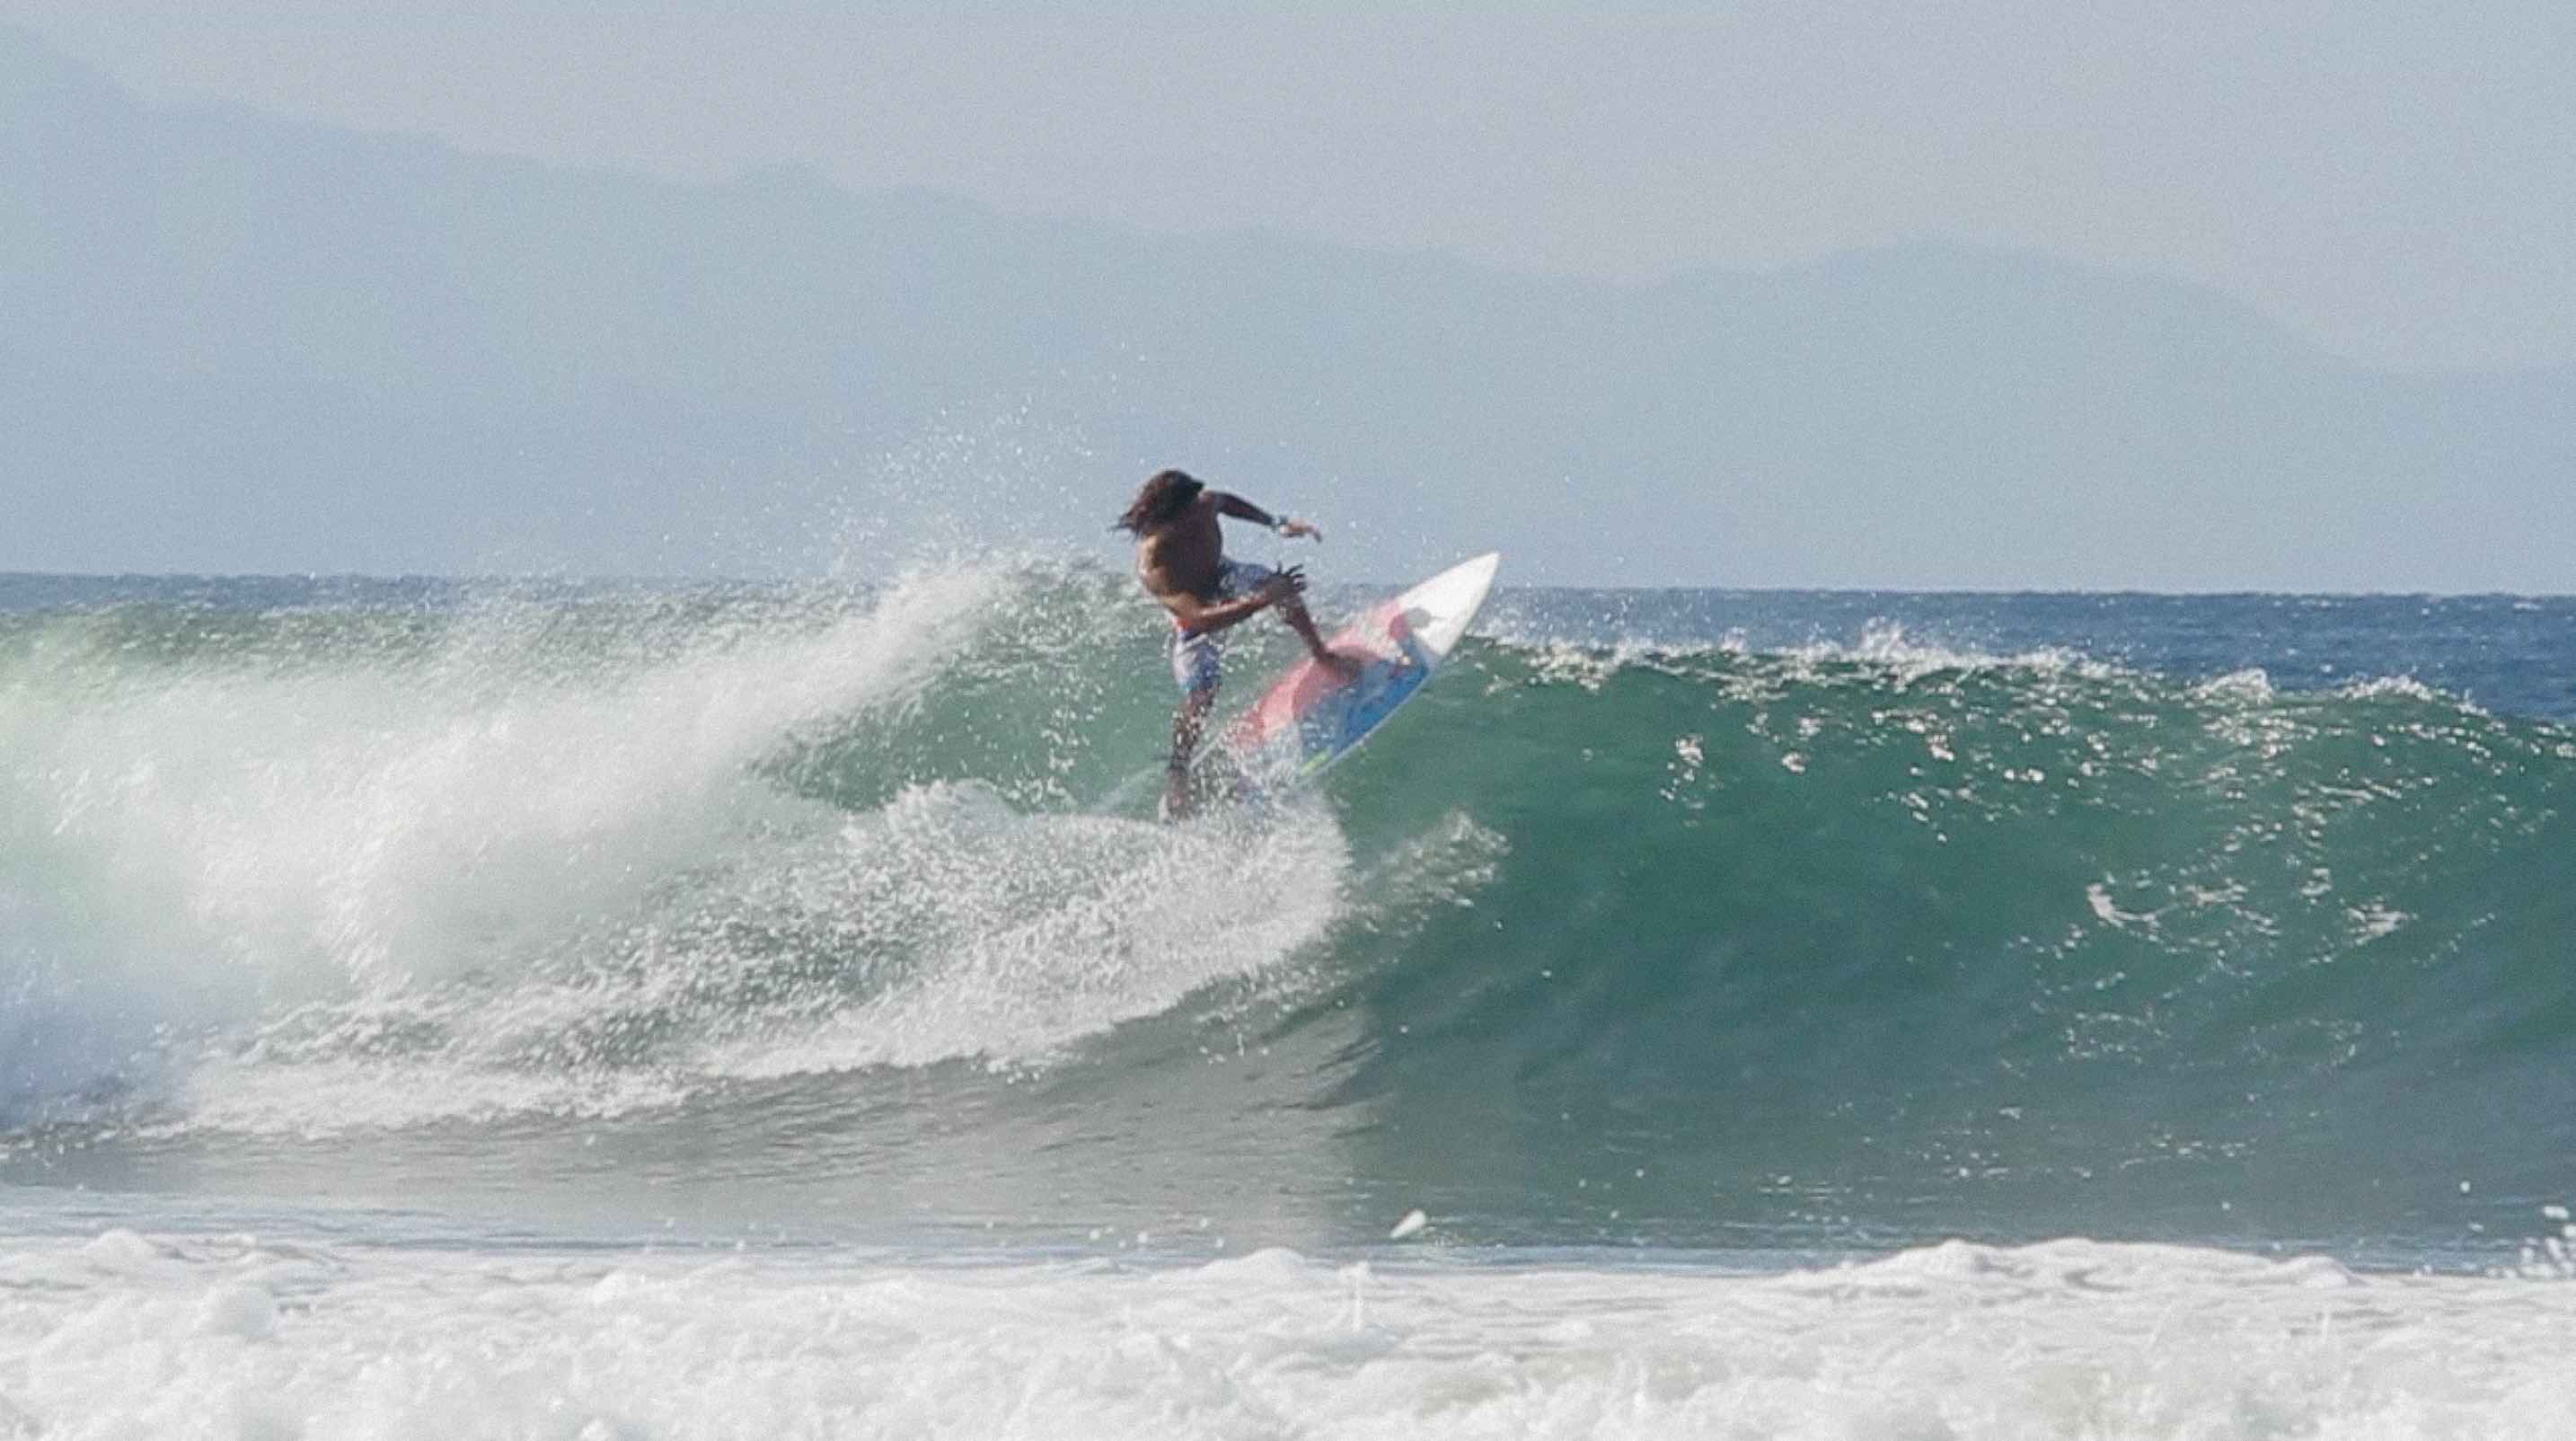
As you get to the white water, unweight the front part of your surfboard by throwing your hands up and forwards in the air.
For more speed, keep your chest forward to bring extra weight over your front foot.
You should be looking where you want to go next (your line), whether that is going further horizontally, or starting to go back down.
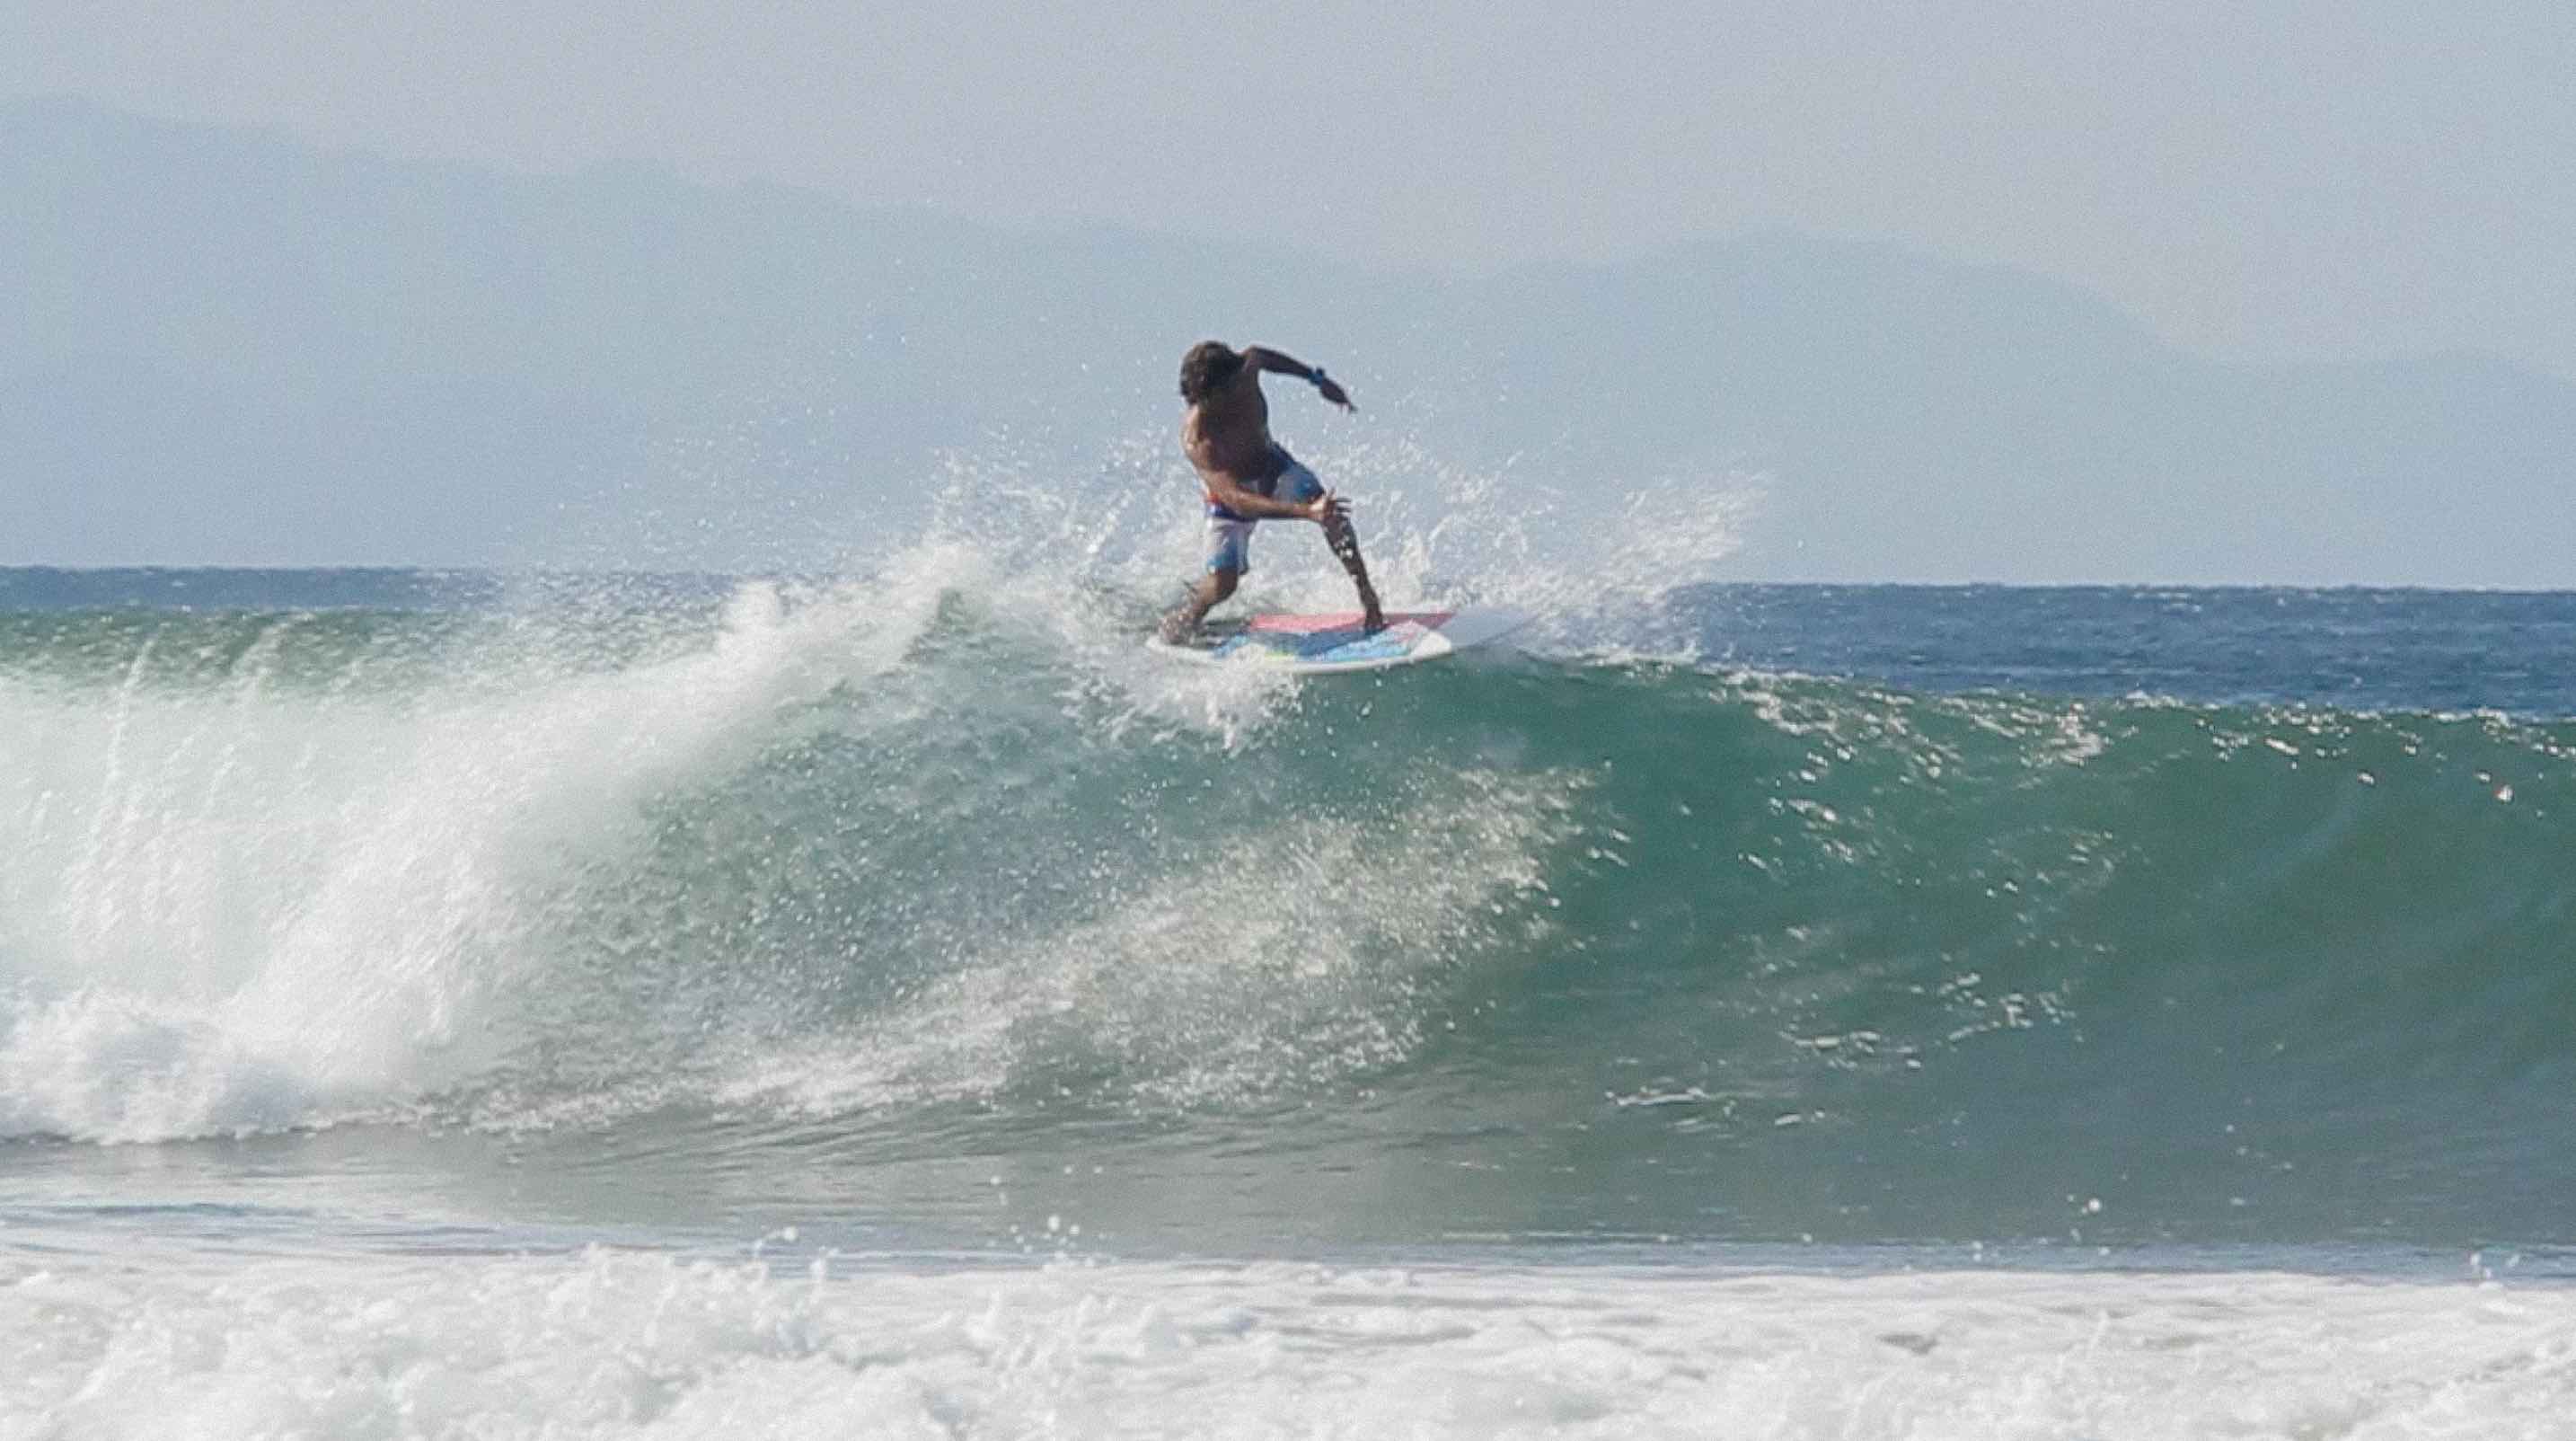
You can shift weight to your toes if you feel you might be close to going over to the back of the wave.

To go back down, turn your head, shoulders and chest towards the beach. Your hips and legs will follow and this will point your board back down the wave.
Make sure you crouch low and compress the lower body to absorb the shock as you land at the bottom of the wave.
1. Shallow turn with speed
2. Pressure on the tail to lift the nose up
3. Stay low and compressed when on top of the white water
4. Look where you want to go
5. Turn head, shoulders and hips towards the beach to initiate landing
6. Compress lower body at landing
Slight difference:
Put your weight on your heels, not your toes, if you feel you’re about to fall off the back of the wave while riding on top of the white water.
7-day surf coaching retreats
7-day surf coaching retreats
10-day surf coaching retreats
10-day surf coaching, intermediates only
10-day surf coaching, intermediates only
Surf better, faster
Get news about our latest Tutorials
& Surf Coaching Retreats


Leave a comment